Fill in a Valid Roof Inspection Template
Conducting a thorough roof inspection is crucial for maintaining the integrity and safety of any building. The Roof Inspection Form serves as a comprehensive tool for documenting essential details about the structure and its roofing system. This form captures critical information, including the inspection date, inspector's name, and specifics about the structure such as its ID, usage, and type—whether it’s a single-family home, an apartment, or another type of building. Additionally, it records contact details for the owner or manager, ensuring that communication remains clear and effective. The form also prompts inspectors to note previous maintenance and repairs, the date of the last inspection, and any changes in occupancy or roof modifications since that time. It addresses potential issues like leaks and emergency repairs, providing space for detailed descriptions. Furthermore, the inspection covers various components of the roof, including the condition of the interior roof deck, exterior walls, drains, and penetrations. Each aspect is evaluated and coded for its condition—ranging from good to poor—allowing for a systematic approach to identifying necessary actions. By utilizing this form, both property owners and inspectors can ensure that all relevant factors are considered, fostering informed decision-making for roof maintenance and repairs.
How to Use Roof Inspection
Once you have the Roof Inspection form ready, it’s time to fill it out carefully. This form collects important information about the condition of the roof, past maintenance, and any issues that may need attention. Follow these steps to ensure you complete the form accurately.
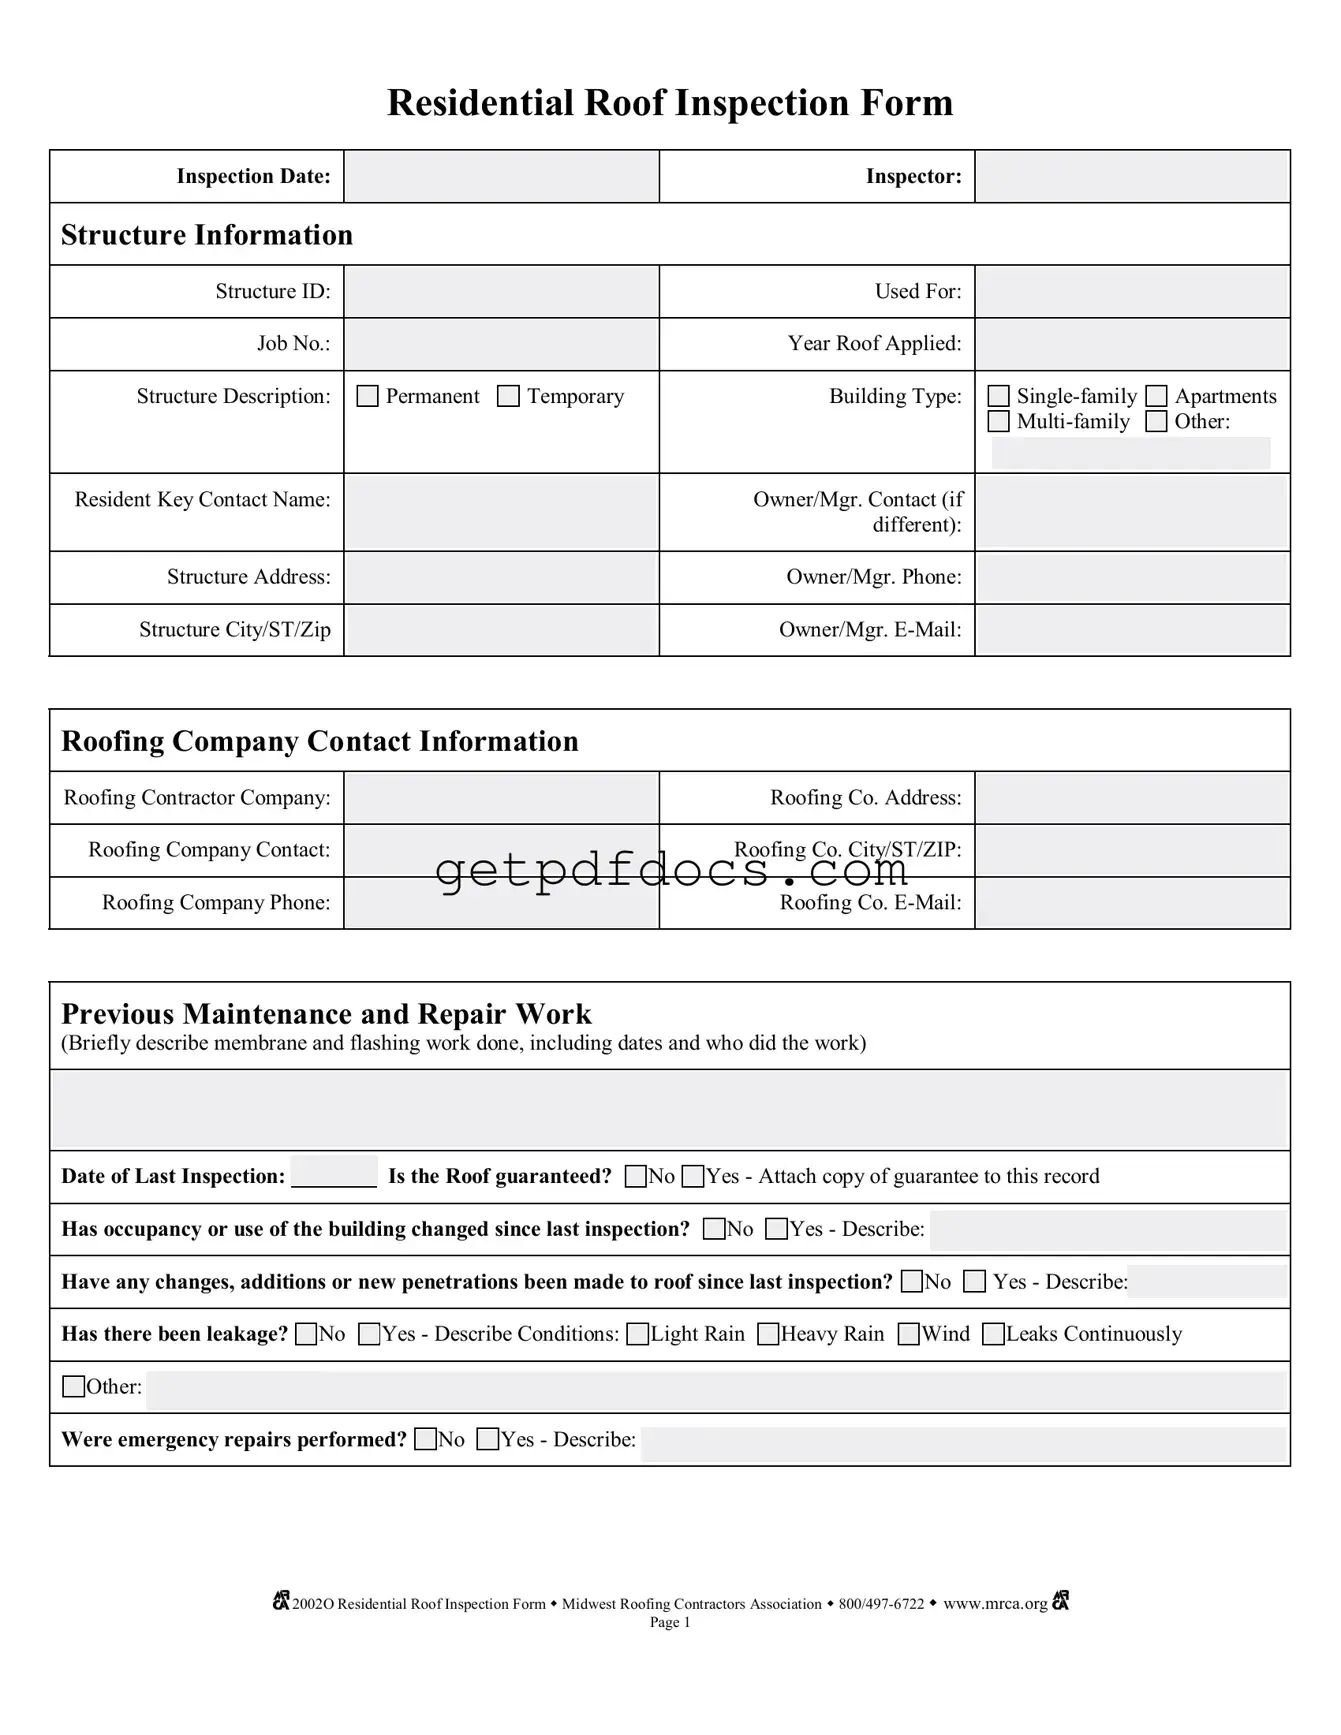
- Enter the Inspection Date at the top of the form.
- Fill in the Inspector name.
- Provide the Structure Information:
- Structure ID
- Used For
- Job No.
- Year Roof Applied
- Structure Description (Permanent or Temporary)
- Building Type (Single-family, Apartments, Multi-family, Other)
- Complete the Resident Key Contact section:
- Contact Name
- Owner/Mgr. Contact (if different)
- Structure Address
- Owner/Mgr. Phone
- Structure City/ST/Zip
- Owner/Mgr. E-Mail
- Fill out the Roofing Company Contact Information:
- Roofing Contractor Company
- Roofing Co. Address
- Roofing Company Contact
- Roofing Co. City/ST/ZIP
- Roofing Company Phone
- Roofing Co. E-Mail
- Provide details about Previous Maintenance and Repair Work including dates and who did the work.
- Indicate the Date of Last Inspection.
- Specify if the roof is guaranteed. If yes, attach a copy of the guarantee.
- Note if the occupancy or use of the building has changed since the last inspection. If yes, describe the changes.
- Answer whether any changes, additions, or new penetrations have been made to the roof since the last inspection. If yes, describe.
- Indicate if there has been leakage. If yes, describe the conditions (Light Rain, Heavy Rain, Wind, etc.).
- State if emergency repairs were performed. If yes, describe the repairs.
- For each section of the roof, mark the Code Condition (Good, Fair, Poor) and list the Location and Action Taken as necessary.
- Finally, ensure to keep copies of the inspection forms and any photographic evidence with the Roof Historical Record.
Key takeaways
When filling out the Roof Inspection form, keep these key takeaways in mind:
- Ensure all sections are completed accurately, including the inspection date and inspector's name.
- Clearly indicate the structure information, including the type of building and its address.
- Document any previous maintenance and repairs. Include dates and details about the work performed.
- Note any changes in occupancy or modifications made to the roof since the last inspection.
- Use the provided codes (G, F, P) to assess the condition of various roof components.
- Attach any guarantees or warranties related to the roof, if applicable.
- Keep copies of the completed form and any photographic evidence for future reference.
Common mistakes
Completing a Roof Inspection form is a vital step in maintaining the integrity of a building. However, many individuals make mistakes that can lead to incomplete or inaccurate assessments. One common mistake is failing to provide accurate contact information for both the property owner and the roofing contractor. This information is essential for follow-up communications and ensuring that any necessary repairs are addressed promptly.
Another frequent error involves overlooking the description of previous maintenance and repair work. This section is crucial as it provides context for the current condition of the roof. Without this information, inspectors may miss underlying issues that have already been addressed or need further attention.
Some individuals neglect to indicate whether the roof is guaranteed. This detail, while seemingly minor, can significantly impact the inspection process. If a guarantee exists, it may dictate specific actions or considerations during the inspection. Always remember to attach a copy of the guarantee if applicable.
Additionally, people often fail to note changes in occupancy or use of the building since the last inspection. Such changes can affect the roof's condition and its ability to withstand different loads or stresses. It is essential to describe any alterations to ensure a comprehensive evaluation.
Another common oversight is not reporting any leaks or signs of water damage. If leakage has occurred, it is crucial to specify the conditions under which it happened, such as during light rain or heavy storms. This information helps inspectors understand the severity of the issue and plan appropriate interventions.
Many also forget to document emergency repairs that were made prior to the inspection. These repairs can provide insight into the roof's current state and may indicate areas that require further monitoring or immediate action.
In the coding section, individuals sometimes mislabel the condition of the roof components. It is important to use the correct codes—Good, Fair, or Poor—accurately reflecting the state of each area. Misclassification can lead to inadequate responses to potential problems.
Furthermore, some people skip the section on drains and downspouts, which is vital for assessing drainage efficiency. A clogged or damaged drainage system can lead to significant roof issues over time. Ensure to check and document the condition of all drainage components.
Lastly, failing to include photographic evidence can hinder the inspection process. Photographs serve as a visual record of the roof's condition and can be invaluable for future assessments. Always take the time to capture and attach relevant images to the inspection form.
By being mindful of these common mistakes, individuals can ensure that their Roof Inspection forms are completed accurately and thoroughly. This diligence not only aids in immediate assessments but also contributes to the long-term maintenance and safety of the building.
Documents used along the form
When conducting a roof inspection, several other forms and documents may be utilized to complement the Roof Inspection form. Each of these documents serves a specific purpose, helping to provide a comprehensive overview of the roof's condition and any necessary actions. Below are some common forms that might be used alongside the Roof Inspection form.
- Maintenance Log: This document records all maintenance activities performed on the roof, including dates, types of work completed, and the personnel involved. It helps track the history of repairs and maintenance, which can be critical for future inspections and warranty claims.
- Warranty Documentation: This form includes the details of any warranties associated with the roofing materials or installation. It outlines the coverage period, conditions, and any requirements for maintaining the warranty, ensuring that the property owner is aware of their rights and obligations.
- Operating Agreement: When establishing your limited liability company, be sure to reference our comprehensive Operating Agreement details to ensure compliance with Florida laws and smooth operational guidance.
- Repair Estimate: A repair estimate provides a detailed breakdown of the costs associated with any necessary repairs identified during the roof inspection. It includes labor, materials, and any additional expenses, allowing property owners to budget effectively for maintenance work.
- Inspection Report Summary: This summary consolidates the findings from the roof inspection into a concise report. It highlights key issues, recommended actions, and timelines for follow-up inspections or repairs, making it easier for property owners to understand the overall condition of their roof.
Utilizing these documents in conjunction with the Roof Inspection form can enhance the understanding of a roof's condition and ensure that all necessary actions are taken to maintain its integrity. Keeping accurate records and documentation is essential for effective roof management.
More PDF Forms
Odometer Statement Texas - Completing the Odometer Statement is essential for compliance with federal and state law regarding vehicle transfers.
For those interested in securing a commercial space, it is crucial to utilize resources that simplify the process, such as the California Templates, which provide customizable lease agreements tailored to California's regulations and requirements.
How Do I Get a P45 - Parts 2 and 3 are provided to the employee to be given to their new employer.
Form I 134 - Accurate information is essential to support a successful application.
Frequently Asked Questions
What information is required on the Roof Inspection Form?
The Roof Inspection Form requires several key pieces of information. First, it includes details about the structure, such as the Structure ID, its purpose, and the type of building (single-family, multi-family, etc.). Additionally, the form asks for contact information for the owner or manager, as well as the roofing contractor. It also requests a brief description of any previous maintenance or repair work, the date of the last inspection, and whether the roof is guaranteed. Lastly, it includes sections for noting any changes in occupancy, leaks, and emergency repairs.
How should previous maintenance and repairs be documented?
When documenting previous maintenance and repairs on the Roof Inspection Form, it is important to provide a brief description of the work performed. This should include details about the membrane and flashing work, the dates when the work was completed, and the names of the contractors who performed the work. Clear and concise documentation helps ensure that future inspections can build on past maintenance efforts.
What actions should be taken if the roof condition is rated as 'Poor'?
If the roof condition is rated as 'Poor' on the inspection form, immediate action is necessary. This rating indicates that there are significant issues that could lead to further damage or safety concerns. The inspector should recommend specific actions to address the problems, which may include repairs, replacements, or further assessments by specialists. It is crucial to address these issues promptly to prevent additional costs and maintain the integrity of the structure.
What should be done if there has been leakage since the last inspection?
If leakage has occurred since the last inspection, the form requires a detailed description of the conditions under which the leakage happened. This includes noting whether it occurred during light rain, heavy rain, or windy conditions. Additionally, the inspector should document any emergency repairs that were performed in response to the leakage. This information is vital for understanding the severity of the issue and planning appropriate follow-up actions.
How can photographic evidence enhance the Roof Inspection process?
Photographic evidence can significantly enhance the Roof Inspection process by providing visual documentation of the roof's condition. The form includes a section for recording photographs or videos taken during the inspection. These images can serve as a valuable reference for future inspections, helping to track changes over time. They also provide concrete evidence of any issues that may arise, which can be useful in discussions with contractors or for insurance purposes.